AI
Receipt Wrangler has the ability to use OCR to pull data off of images, and AI to parse that data into a receipt. There are a couple of workflows which the user can use to create receipts quicker with AI.
Configuration
Check out the AI configuration section to learn how to configure AI.
Features
Quick Scan
The first workflow is quick scan. Quick scan is located on the receipts table, or underneath the add button on the sidebar as shown below:
Clicking on either of these buttons will display the following dialog:

From here, the user may upload an image, or many images. Many common image formats are supported, as well as .HEIC and .PDF single and multi page files are supported.
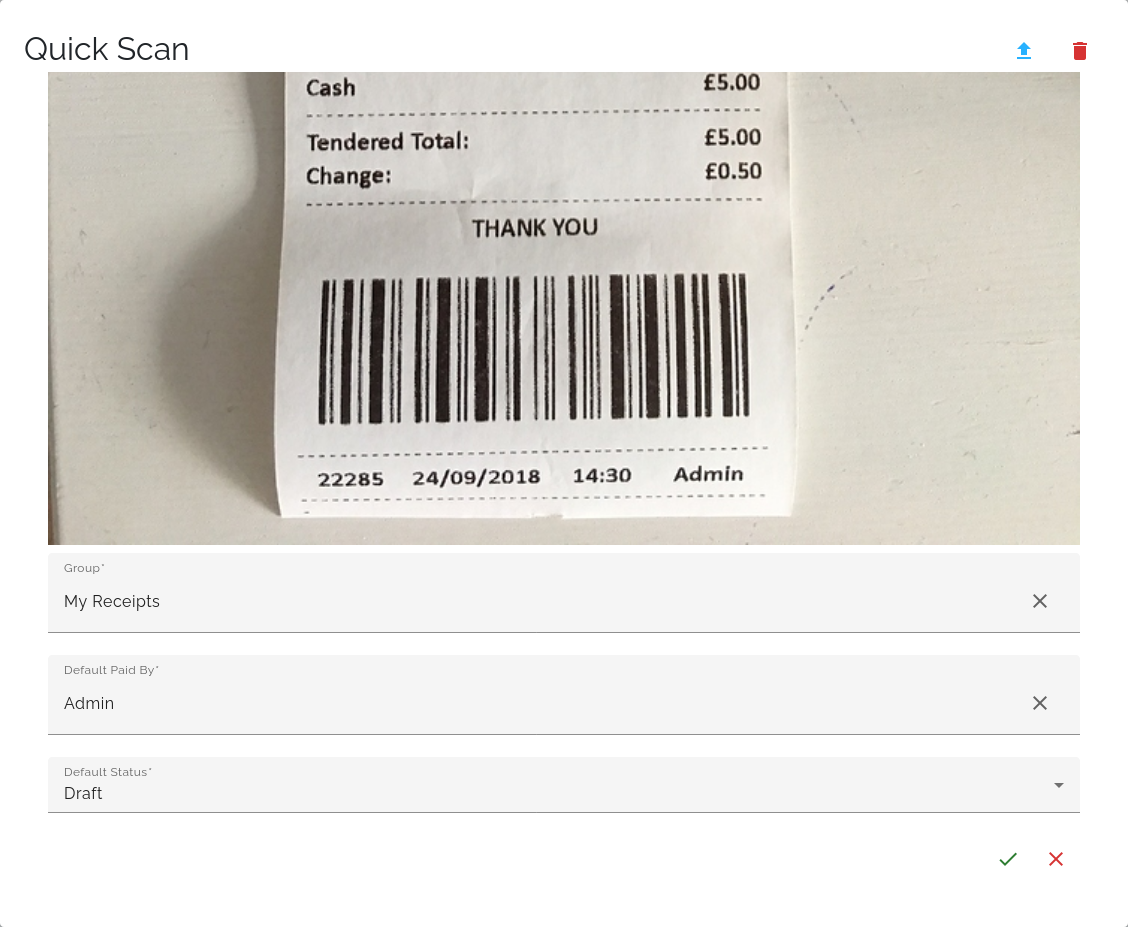
Once an image/pdf is uploaded, then the following carousal will display.

Once the checkmark is clicked, Receipt Wrangler will attempt to parse the image/pdf using AI.
Group
This field determines which group the scanned receipt will belong to.
Default Paid By
This field determines which user by default will be set as the paid by. It is possible for this field to be overriden by a prompt that specifies this value.
Default Status
This field determines which status the scanned receipt will belong to. It is possible for this field to be overriden by a prompt that specifies this value.
This allows users to quickly scan several receipts, and have the data parsed into a receipt and immediately saved, taking the values result from AI. Defaults for some of the fields can be set in user preferences, to make the process even quicker.
Magic Fill
The next workflow is Magic Fill. Magic Fill is a way to quickly fill in a receipt from the receipt page. Once an image is uploaded, users can select an image to magic fill from. This will fill in the receipt with the values from AI, but doesn't save it right away. This allows users a chance to modify data as needed before saving.
Email Integration
The last workflow is using the Email Integration. The Email Integration lets users send in receipts via a configured email and have them essentially Quick Scanned into the system automatically. Check out the documentation to see how to configure it.

