Group Table
Navigating to groups table
To view all of your groups, click on the manage groups button in the avatar header menu as shown below.
![]()
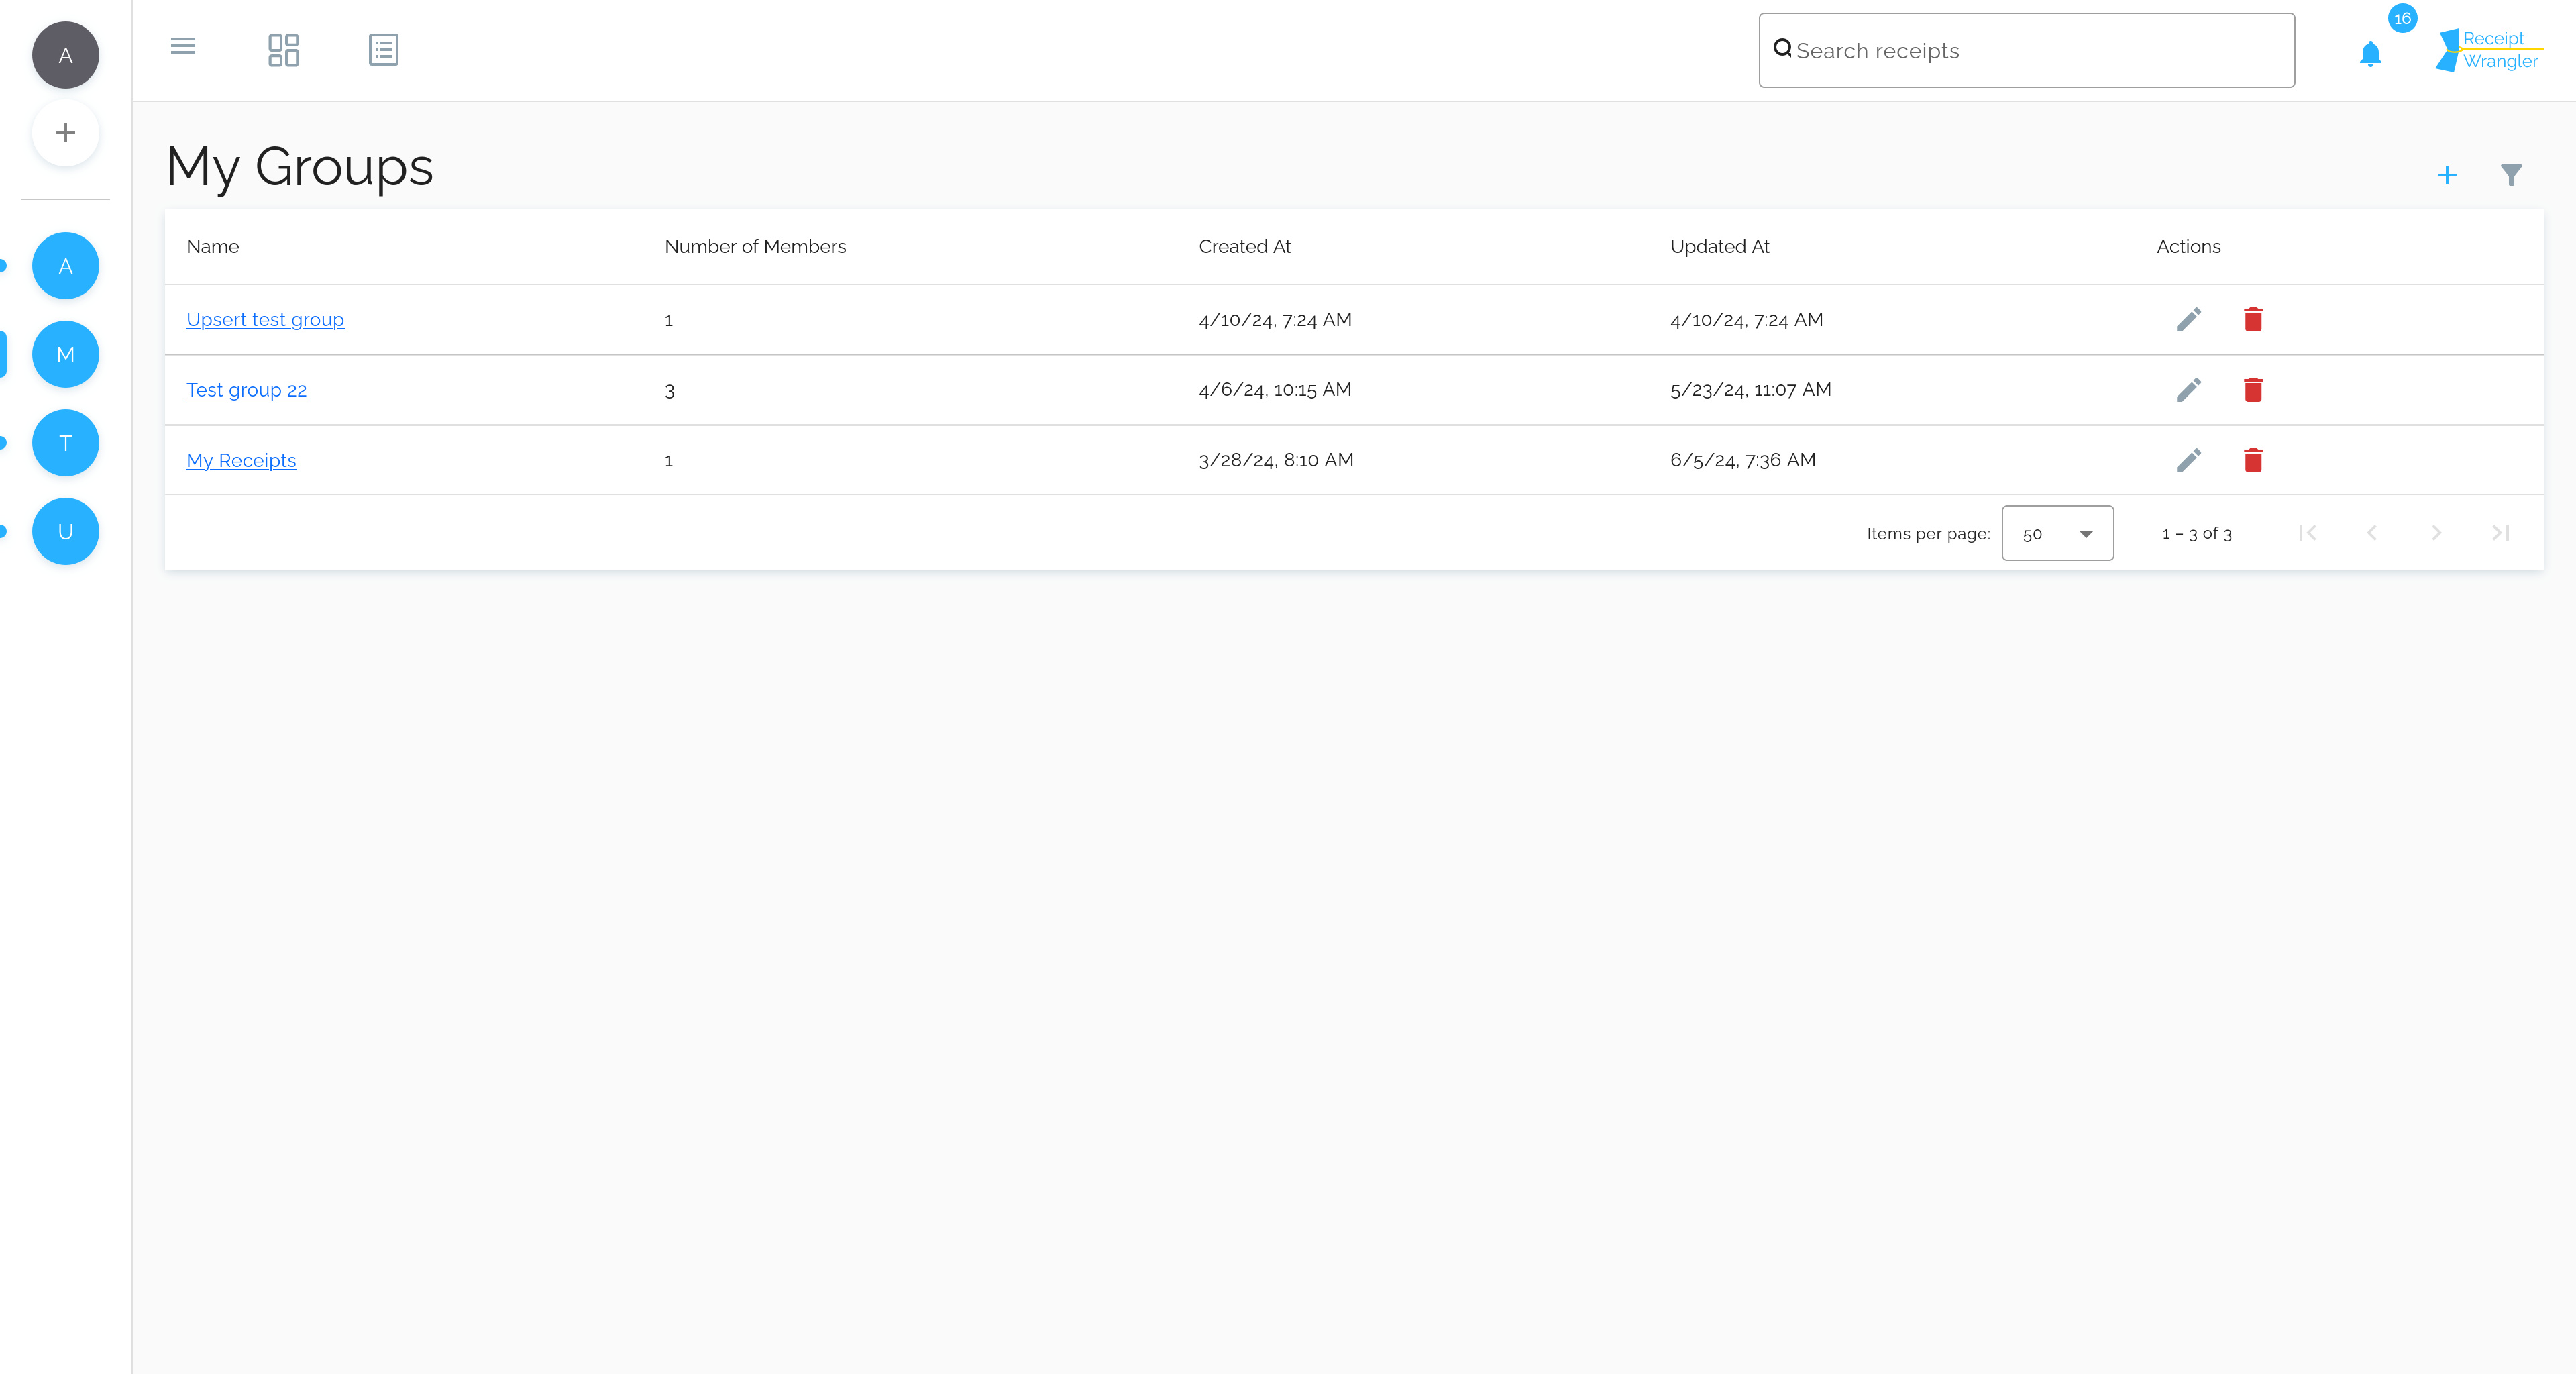
Once on the groups table screen, the following screen will appear.

Header Buttons
- Create Group: Users can click this button to create a new group.
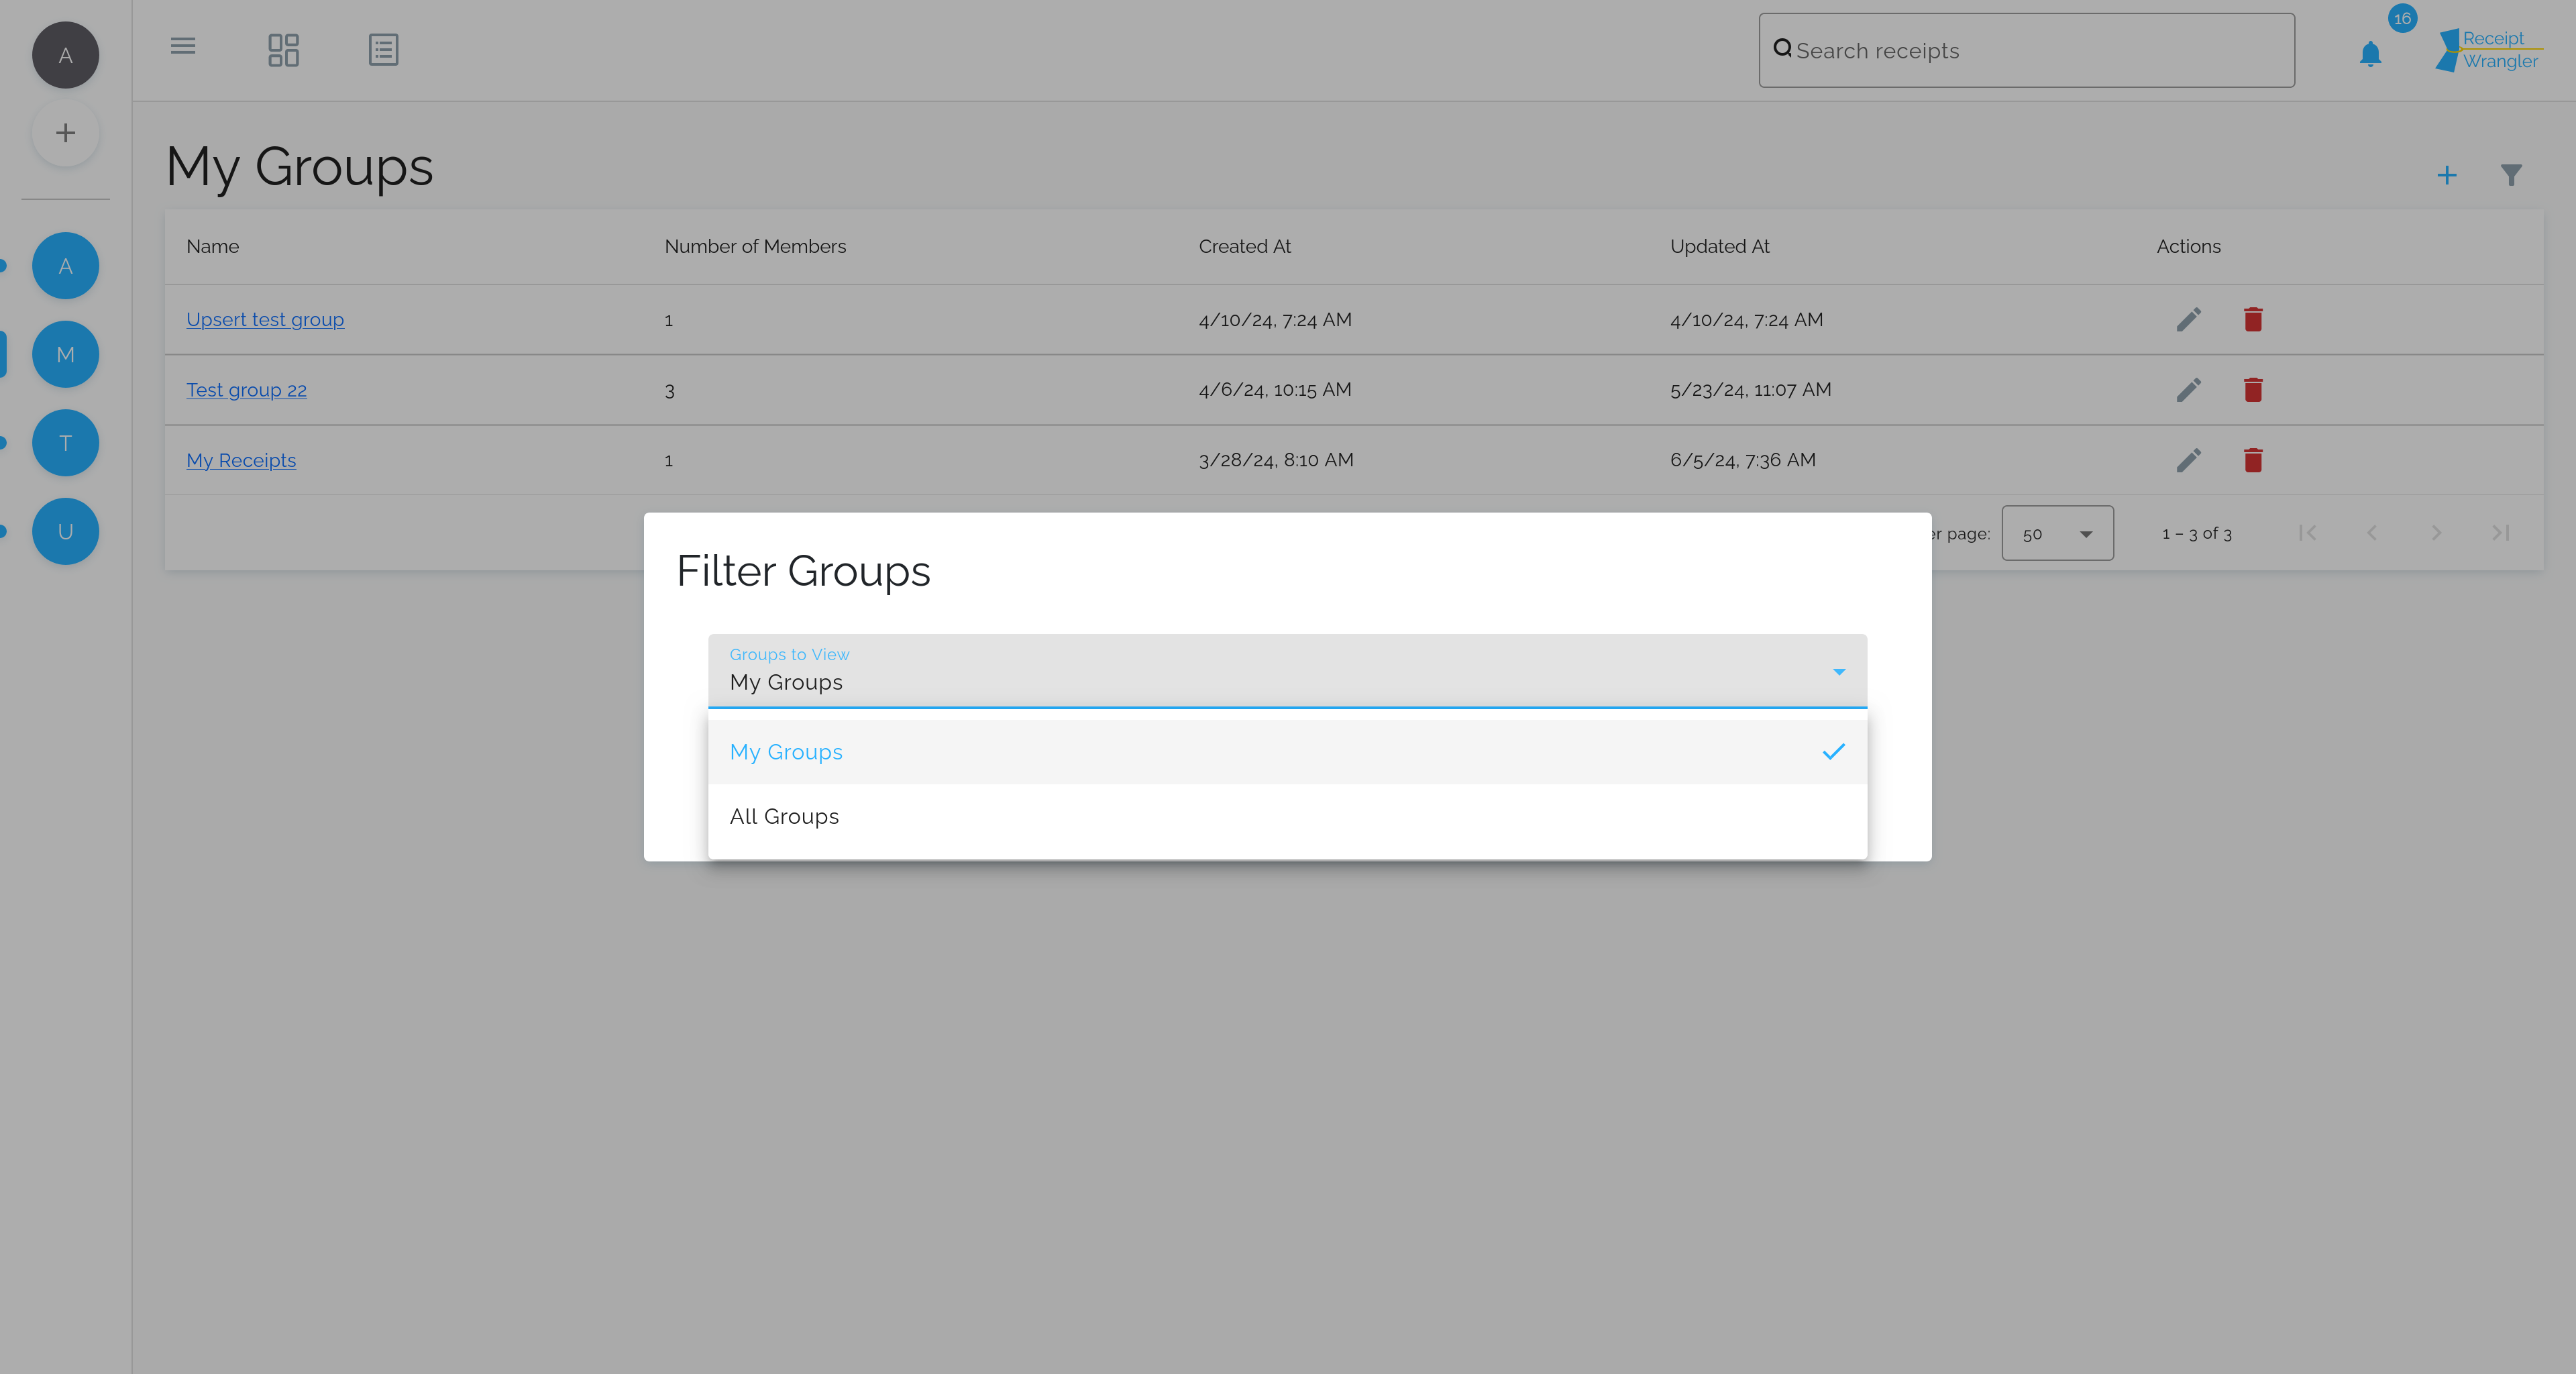
- Group Filter: This allows administrators to filter between all groups, and my groups. If the user is not an administrator, this button will not be displayed.
Group Filter
Once the user clicks on the group filter button, the following dialog will appear.

Table Columns
Name
This column displays name of the group, and can be sorted by clicking on the column header.
Number of Members
This column displays the number of members in the group, and can be sorted by clicking on the column header.
Is Default Group
This column displays whether the group is default or not, and can be sorted by clicking on the column header.
Created At
This column displays the date the group was created, and can be sorted by clicking on the column header.
Updated At
This column displays the date the group was last updated, and can be sorted by clicking on the column header.
Actions
This column displays the following buttons:
- Edit pencil: Users can click this button to edit the data on the selected row. This button will only be displayed if the user is a Group Owner, or a Group Editor.
- Delete button: Users can click this button to delete the group on the selected row. This action will delete all receipts associated with the group. This button will only be displayed if the user is a Group Owner.