Prompts
Prompts allow Administrators to configure prompts, to be used within receipt processing settings to communicate with the configured AI.
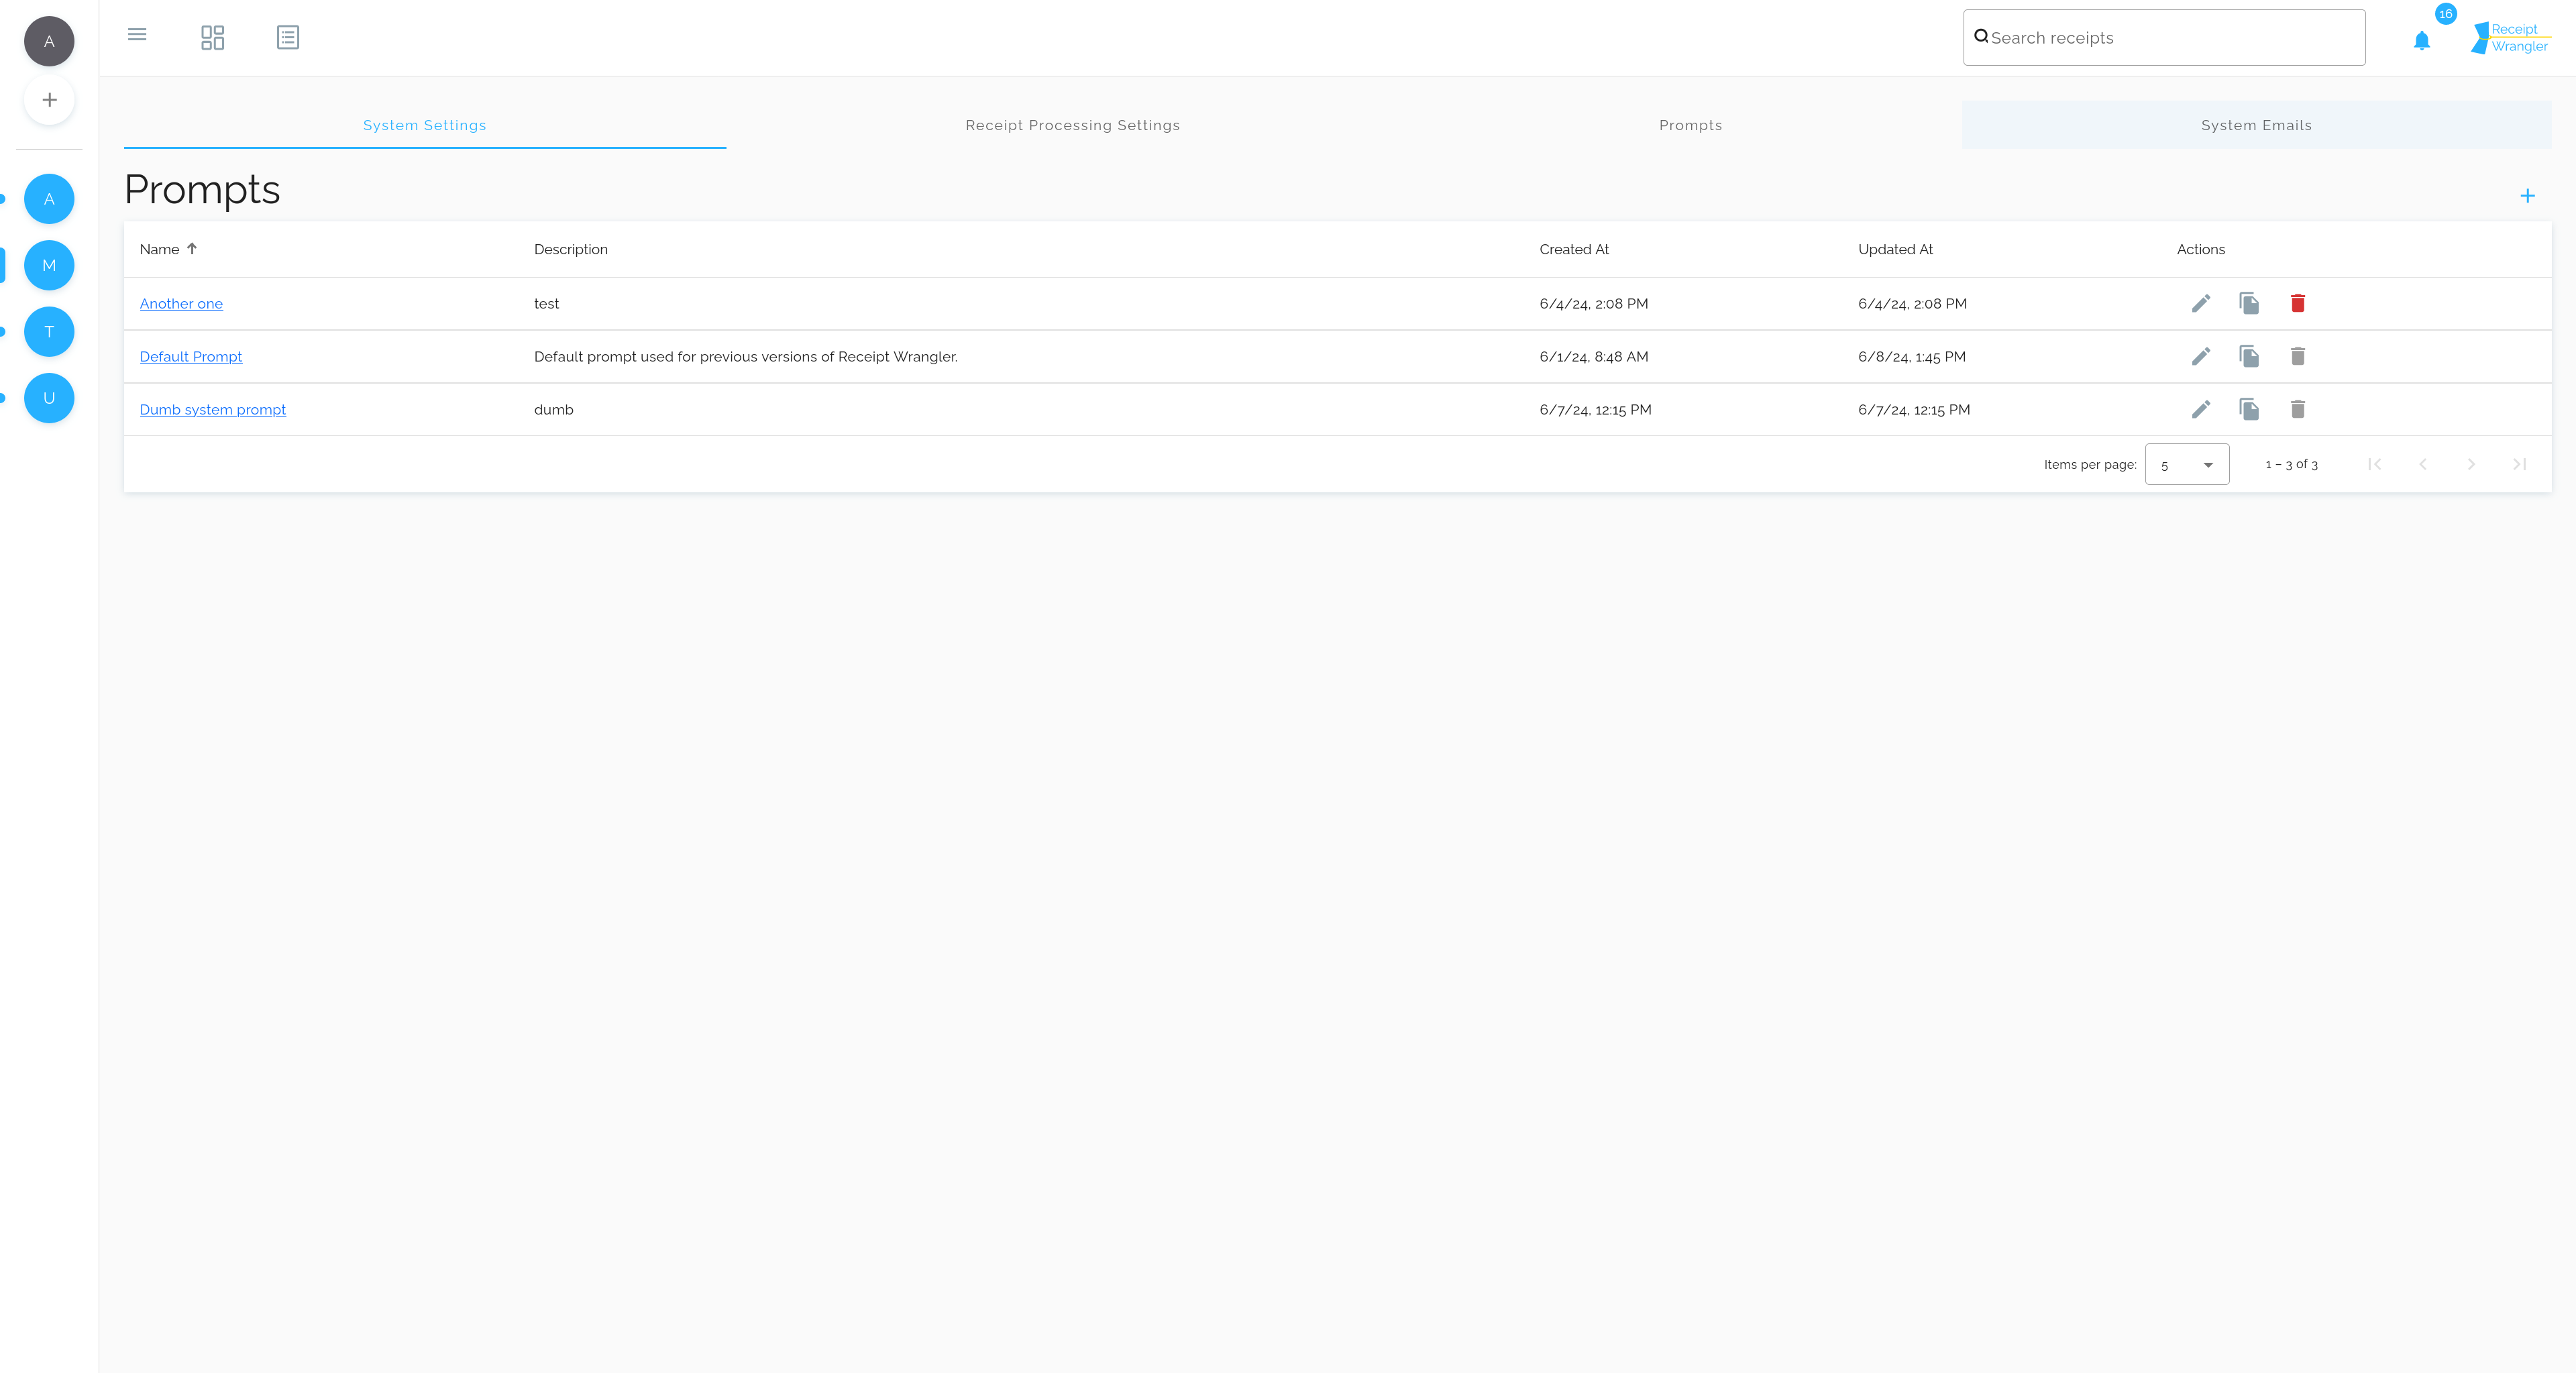
To access prompts, log in as an administrator, and then click on the avatar menu, and then click the "System Settings" button, as shown below. Then click on the "Prompts" tab.
![]()
Viewing Prompts
Once the user has navigated to the prompts tab, they will be presented with a table containing the existing prompts.
Header Buttons
Add Prompt
This allows the user to add a new prompt.
Add Default Prompt
Add Default Prompt (not pictured): This allows the user to add the default prompt, if it does not exist already. If it already exists, the button will not be displayed.
Each of the columns can be sorted by clicking on the column header, either ascending or descending, except for the actions column.
Actions
Edit
This allows the user to edit the prompt.
Duplicate
This allows the user to duplicate the prompt.
Delete
This allows the user to delete the prompt, as long as it is not used in any receipt processing settings. Otherwise, a snackbar will be displayed that informs the user what the prompt is currently related to.
Managing Prompts
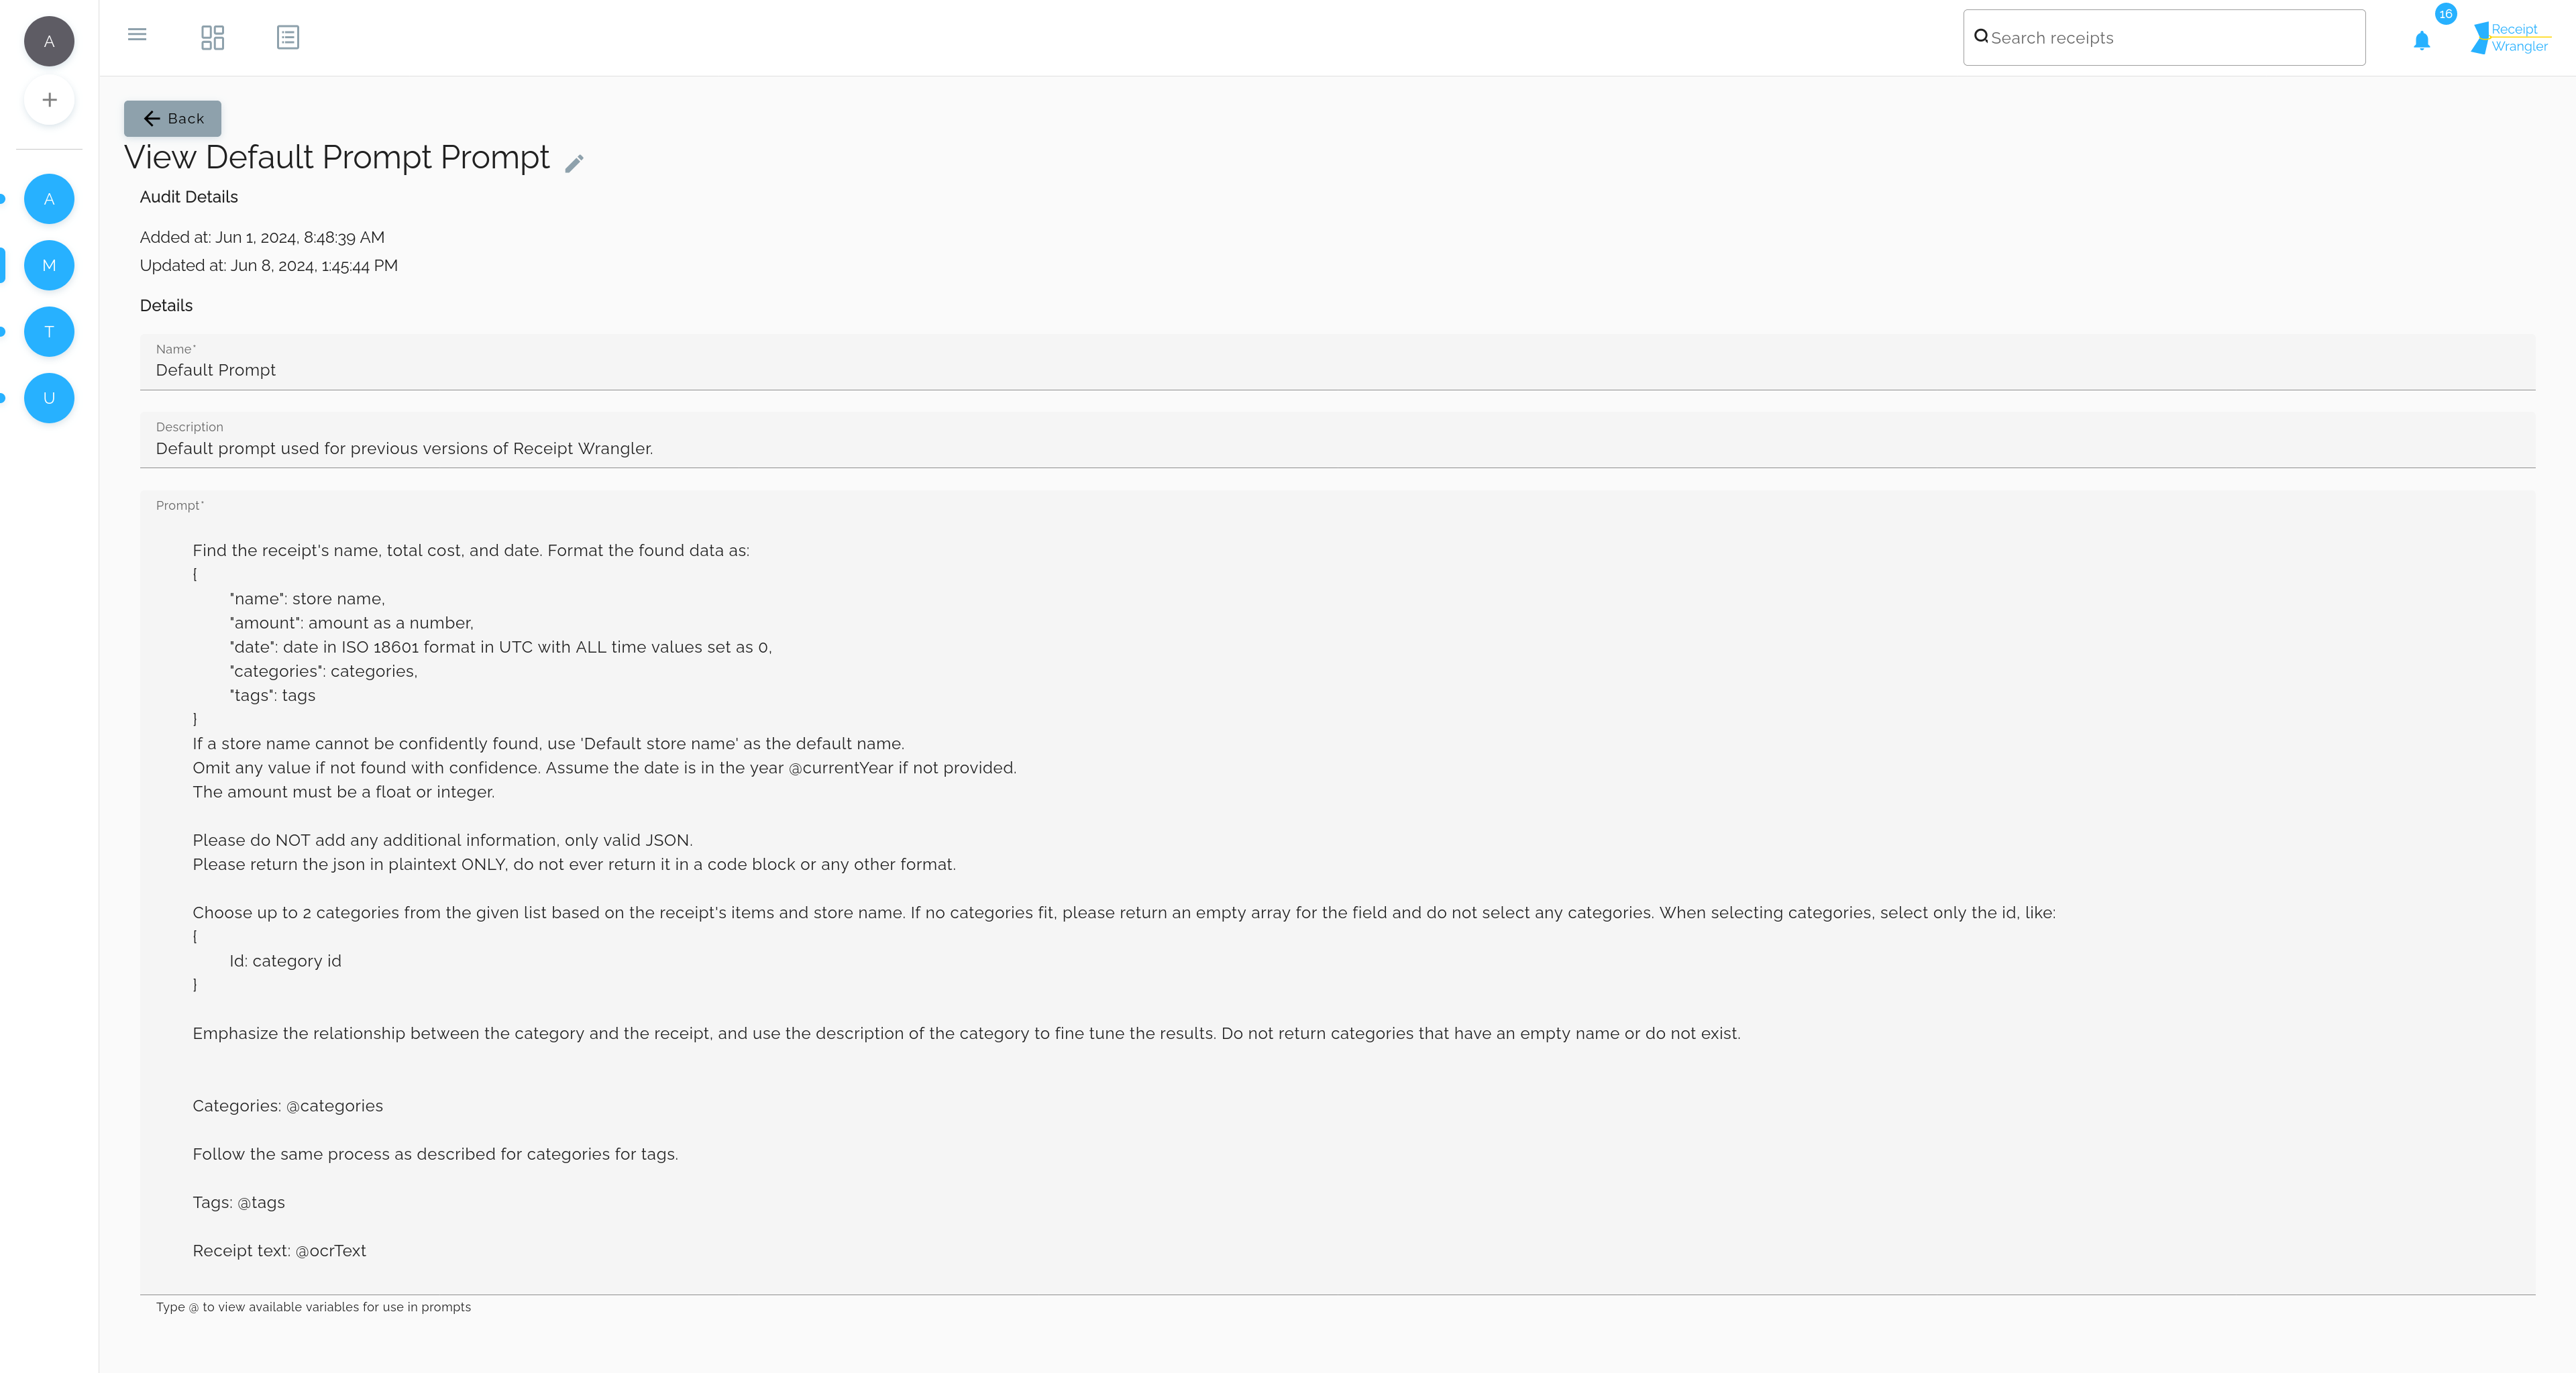
To manage prompts, click on the name hyperlink of the prompts you wish to view, or click the edit button in the actions column.
The following form will be displayed:
Header Buttons
- Edit: This allows the user to edit the prompt. This button is only visible when in view mode.
Fields
Name
This is the name of the prompt.
Description
This is the description of the prompt.
Prompt
This is the prompt that will be used in the receipt processing settings.
Prompting
Allowing administrators to configure prompts of their own, allows a huge amount of flexibility, and power into the system. The main caveat to keep in mind while prompting, is that these are global prompts, so we cannot assign prompts to groups yet for more specific prompts. However, the prompting logic will remain the same.
Before getting into different use cases, lets take a look at how prompting in Receipt Wrangler works.
Default Prompt
This is the default prompt, that was used previously in Receipt Wrangler, and as mentioned earlier in the documentation, it is createdable by a button on the prompts page.
It is also created during the config import process.
Find the receipt's name, total cost, and date. Format the found data as:
{
    "name": store name,
    "amount": amount as a number,
    "date": date in ISO 8601 format in UTC with ALL time values set as 0,
    "categories": categories,
    "tags": tags
}
If a store name cannot be confidently found, use 'Default store name' as the default name.
Omit any value if not found with confidence. Assume the date is in the year @currentYear if not provided.
The amount must be a float or integer.
If the receipt represents a refund, return, or credit (money returned to the customer rather than charged), the amount and item amounts MUST be negative. Otherwise they are positive.

Please do NOT add any additional information, only valid JSON.
Please return the json in plaintext ONLY, do not ever return it in a code block or any other format.

Choose up to 2 categories from the given list based on the receipt's items and store name. If no categories fit, please return an empty array for the field and do not select any categories. When selecting categories, select only the id, like:
{
    Id: category id
}

Emphasize the relationship between the category and the receipt, and use the description of the category to fine tune the results. Do not return categories that have an empty name or do not exist.
If there are no categories to chose from, then please make categories an empty array.
Likewise, if there are not tags to choose from, then make tags an empty array.

Categories to chose from: @categories

Follow the same process as described for categories for tags.

Tags to chose from: @tags

Receipt text: @ocrText
There are a few things to note in the default prompt:
- The structure that Receipt Wrangler is expecting
- The variables that are available
Structural Requirements
Receipt Wrangler is expecting the AI to return JSON in a specific format. The full format can be found in the API documentation. The API documentation will also cover which fields are required, and which are optional.
Additionally, the dates MUST be in ISO 8601 format, or the date will not be parsed correctly.
In summary the requirements are:
- The format must be in JSON, and in the format specified in the API documentation.
- The date MUST be in ISO 8601 format.
If the above conditions are not met, Receipt Wrangler will not be able to parse the data correctly, and any Quick Scans, Magic Fills, or Email Integrations will fail.
Variables
When prompts, administrators will have variables available for them to use. Below is the full list of variables that are available. These variables are replaced with the actual data when the prompt is used.
@categories
This will use the full list of categories that are available in the system. The format of the categories is as shown in the API documentation.
@tags
This will use the full list of tags that are available in the system. The format of the tags is as shown in the API documentation.
@ocrText
This will use the OCR text that was extracted from the receipt.
@currentYear
This will use the current year in the UTC timezone.
Use Cases
Some uses cases for custom prompts are:
- Attempting to itemize all items on a receipt
- Attempting to itemize, and split all items on a receipt
- Figuring out who paid the receipt based on the content of the receipt (perhaps by card number, maybe store name, etc.)
Here is an example prompt, of itemizing all items on a receipt by adjusting the prompt.
Find the receipt's name, total cost, and date. Format the found data as:
{
    "name": store name,
    "amount": amount as a number,
    "date": date in ISO 8601 format in UTC with ALL time values set as 0,
    "categories": categories,
    "tags": tags,
    "receiptItems": items,
}
If a store name cannot be confidently found, use 'Default store name' as the default name.
Omit any value if not found with confidence. Assume the date is in the year @currentYear if not provided.
The amount must be a float or integer.

Please do NOT add any additional information, only valid JSON.
Please return the json in plaintext ONLY, do not ever return it in a code block or any other format.

Choose up to 2 categories from the given list based on the receipt's items and store name. If no categories fit, please return an empty array for the field and do not select any categories. When selecting categories, select only the id, like:
{
    Id: category id
}

Emphasize the relationship between the category and the receipt, and use the description of the category to fine tune the results. Do not return categories that have an empty name or do not exist.

Please itemize all items on the receipt.
Use the key: 'receiptItems' in the resulting JSON.
The items should be in the format:
[
    {
        "name": item name,
        "amount": item cost as a number,
        "status": "DRAFT",
        "chargedToUserId": 1
    }
]

When itemizing the receipt, please make sure that the total sum of the items does not exceed the total amount of the receipt.


Categories: @categories

Follow the same process as described for categories for tags.

Tags: @tags

Receipt text: @ocrText
It is a decent starting point in understanding how prompts work, but it needs a more robust way to assign items to users, at least in a multi-user environment.