Using Custom Fields
In the previous sections, we learned how to set up custom fields, now in this section we will learn how to apply them to receipts.
Adding Custom Fields to a Receipt
Currently custom fields may only be added to a single receipt at a time.
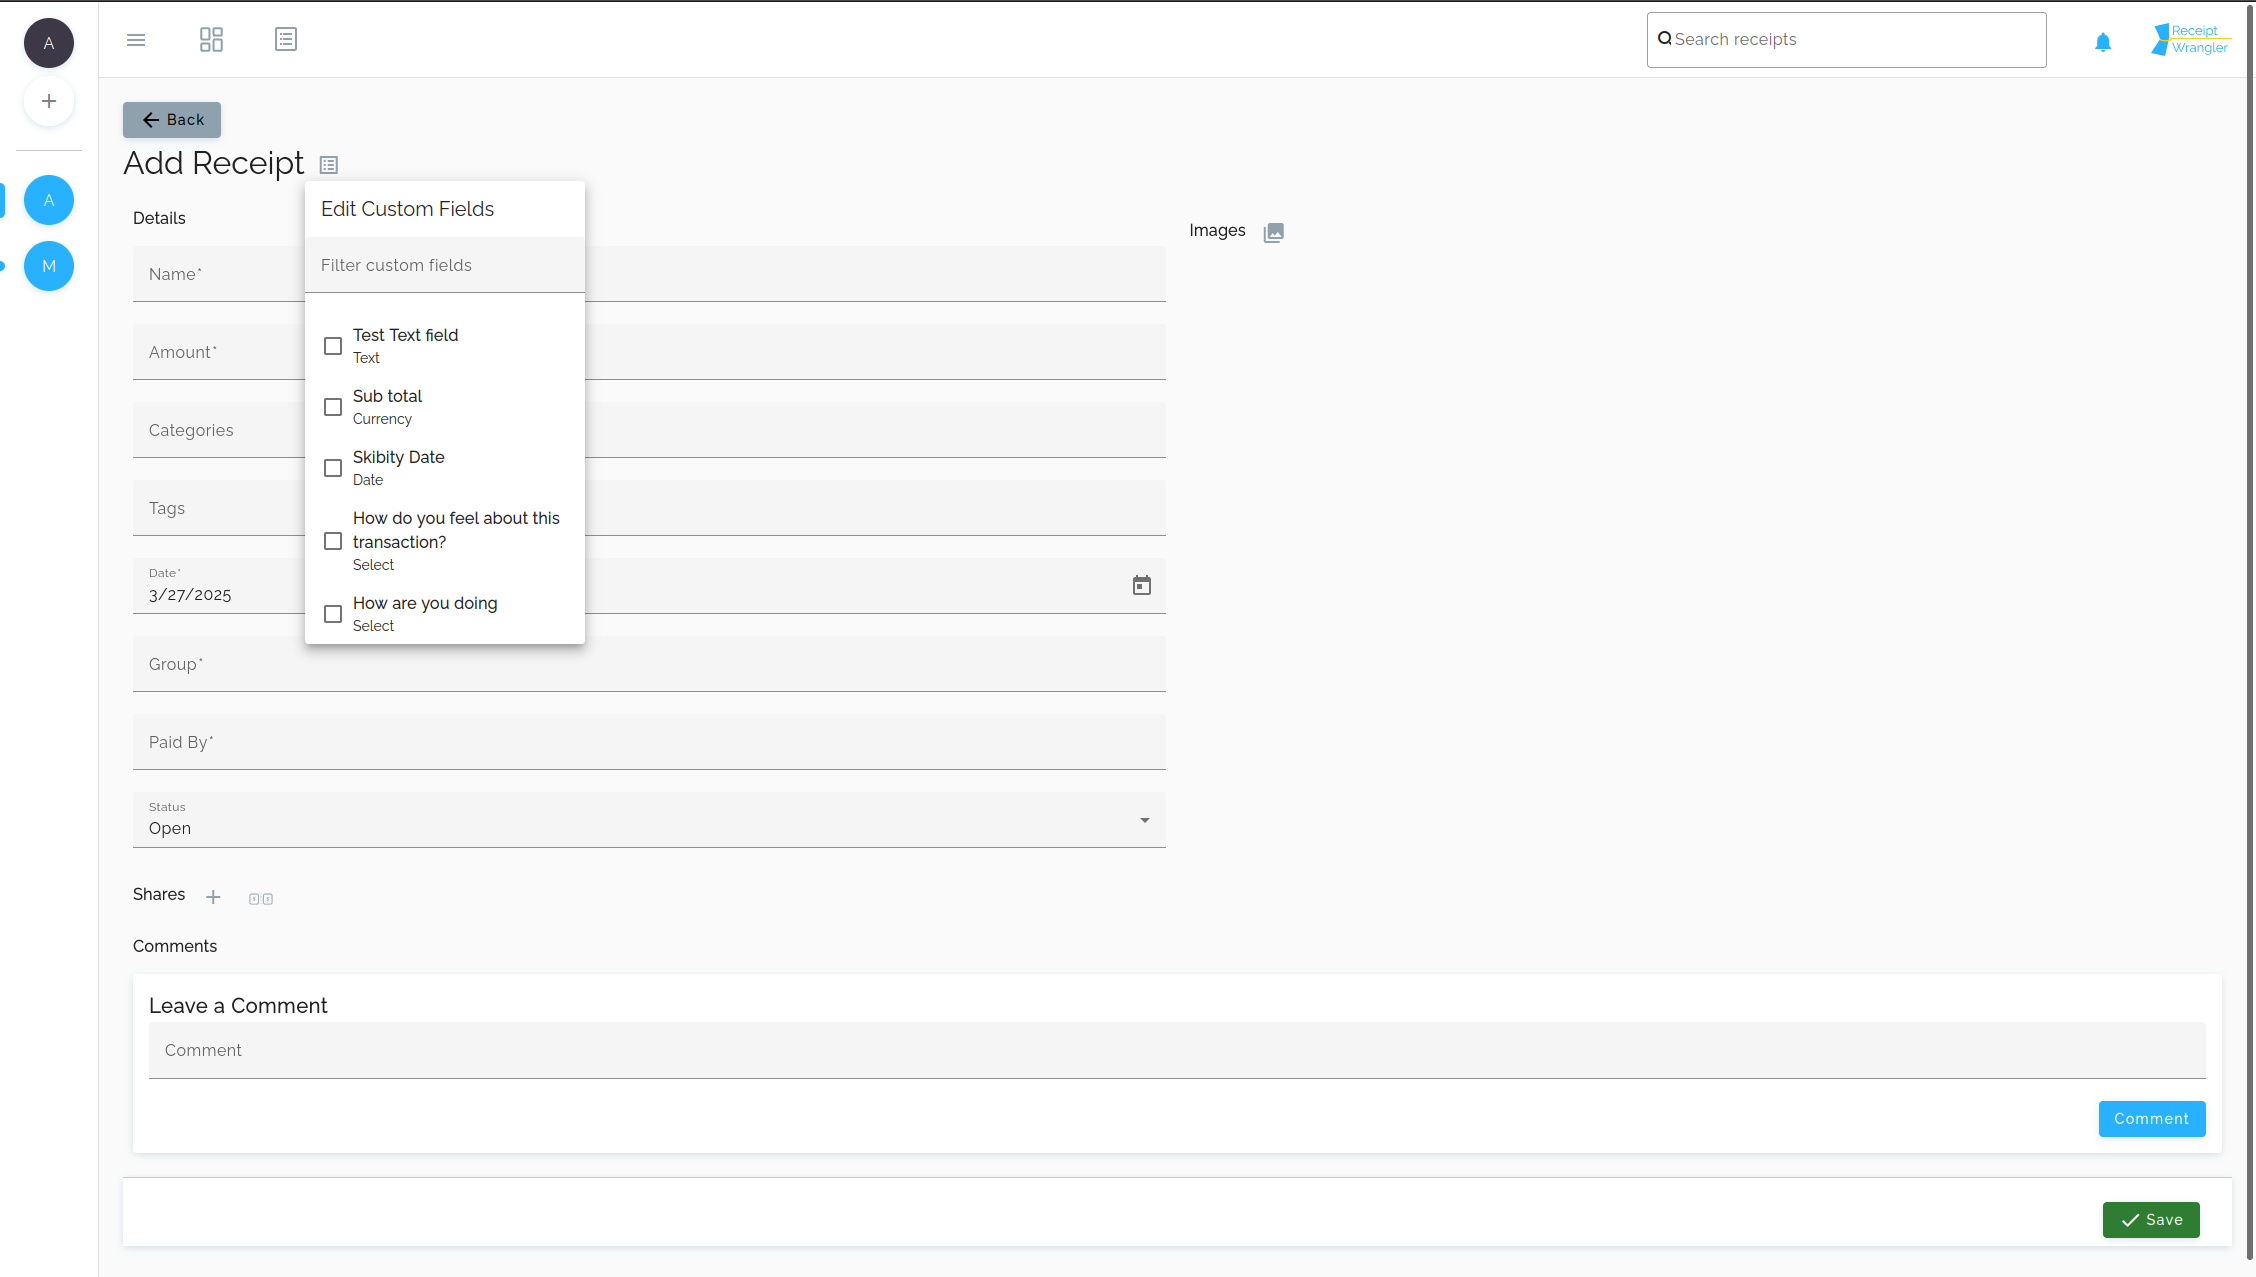
When a user is on a view or edit receipt page, they will see view/edit custom fields button on the header as shown below.
![]()
Once clicked, the custom fields menu will appear as shown below.

In this menu, the user may filter through custom fields if they'd like, and they can click on a field to immediately add it to the form. The user may click again to remove the field if they decide they no longer want it.
For now, the field is simply added to the bottom of the form, and the field will behave as a normal field.